Jacqueline Binkley
photography for joyful people


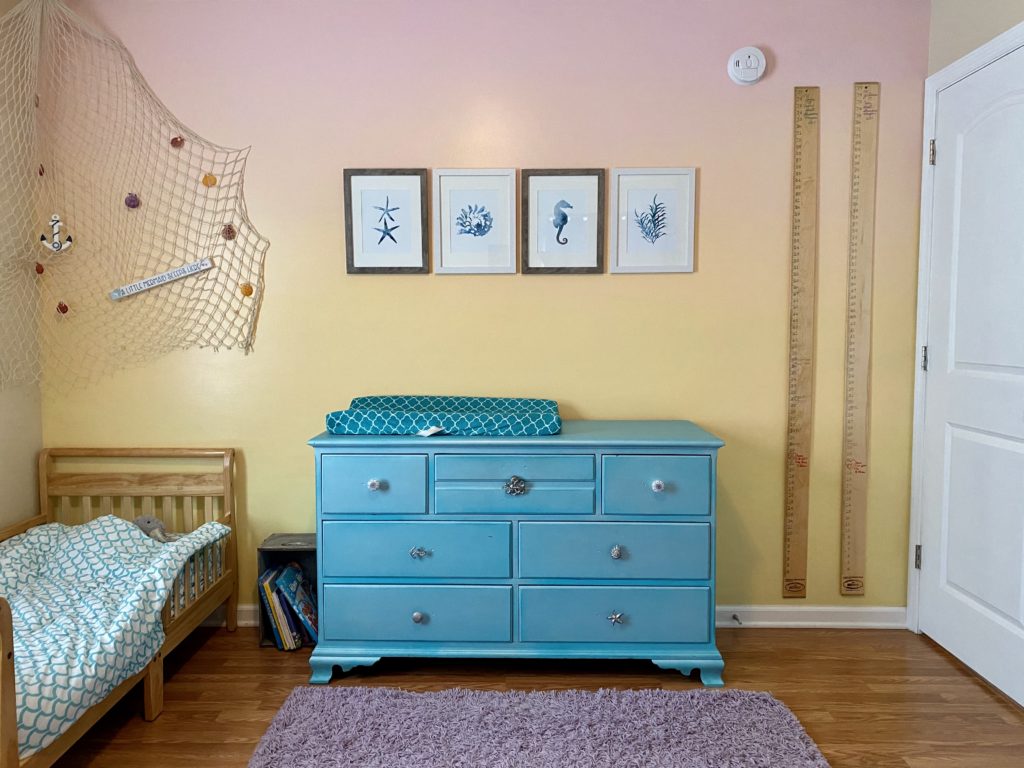
Quickly and easily paint an ombré wall for a unique splash of color in any room without a lot of materials.
2020 has been a year of home re-painting/adding more color with accent walls in our house! After adding a brush stroke accent wall in my office space, I started to feel more confident in my ability to create bold walls.
There is always a little bit of hesitation when I’m about to tackle a new project so researching instructions or do’s & don’ts is my first order of business. However, after I saw an ombré wall on Pinterest, I couldn’t find a reasonable how-to blog. The ones I found involved 3 paints, 3 rollers, 3 brushes, 3-5 paint trays, measuring the wall into thirds, taping, rolling stripes then brushing to blend. It seemed too technical for my liking.
So I thought to myself, “if the colors are going to be blended anyways, couldn’t I use one roller?”
The answer: YES you can!!
I wasn’t able to use only one brush though, but perhaps if I had taken more time to fully unload the brush it could have worked. However, I already had two brushes at home so I just brought in the second brush when I needed it.
Now, on to the process!
Time: 30 mins to tape, 1 hour to paint, 2+ hours to dry
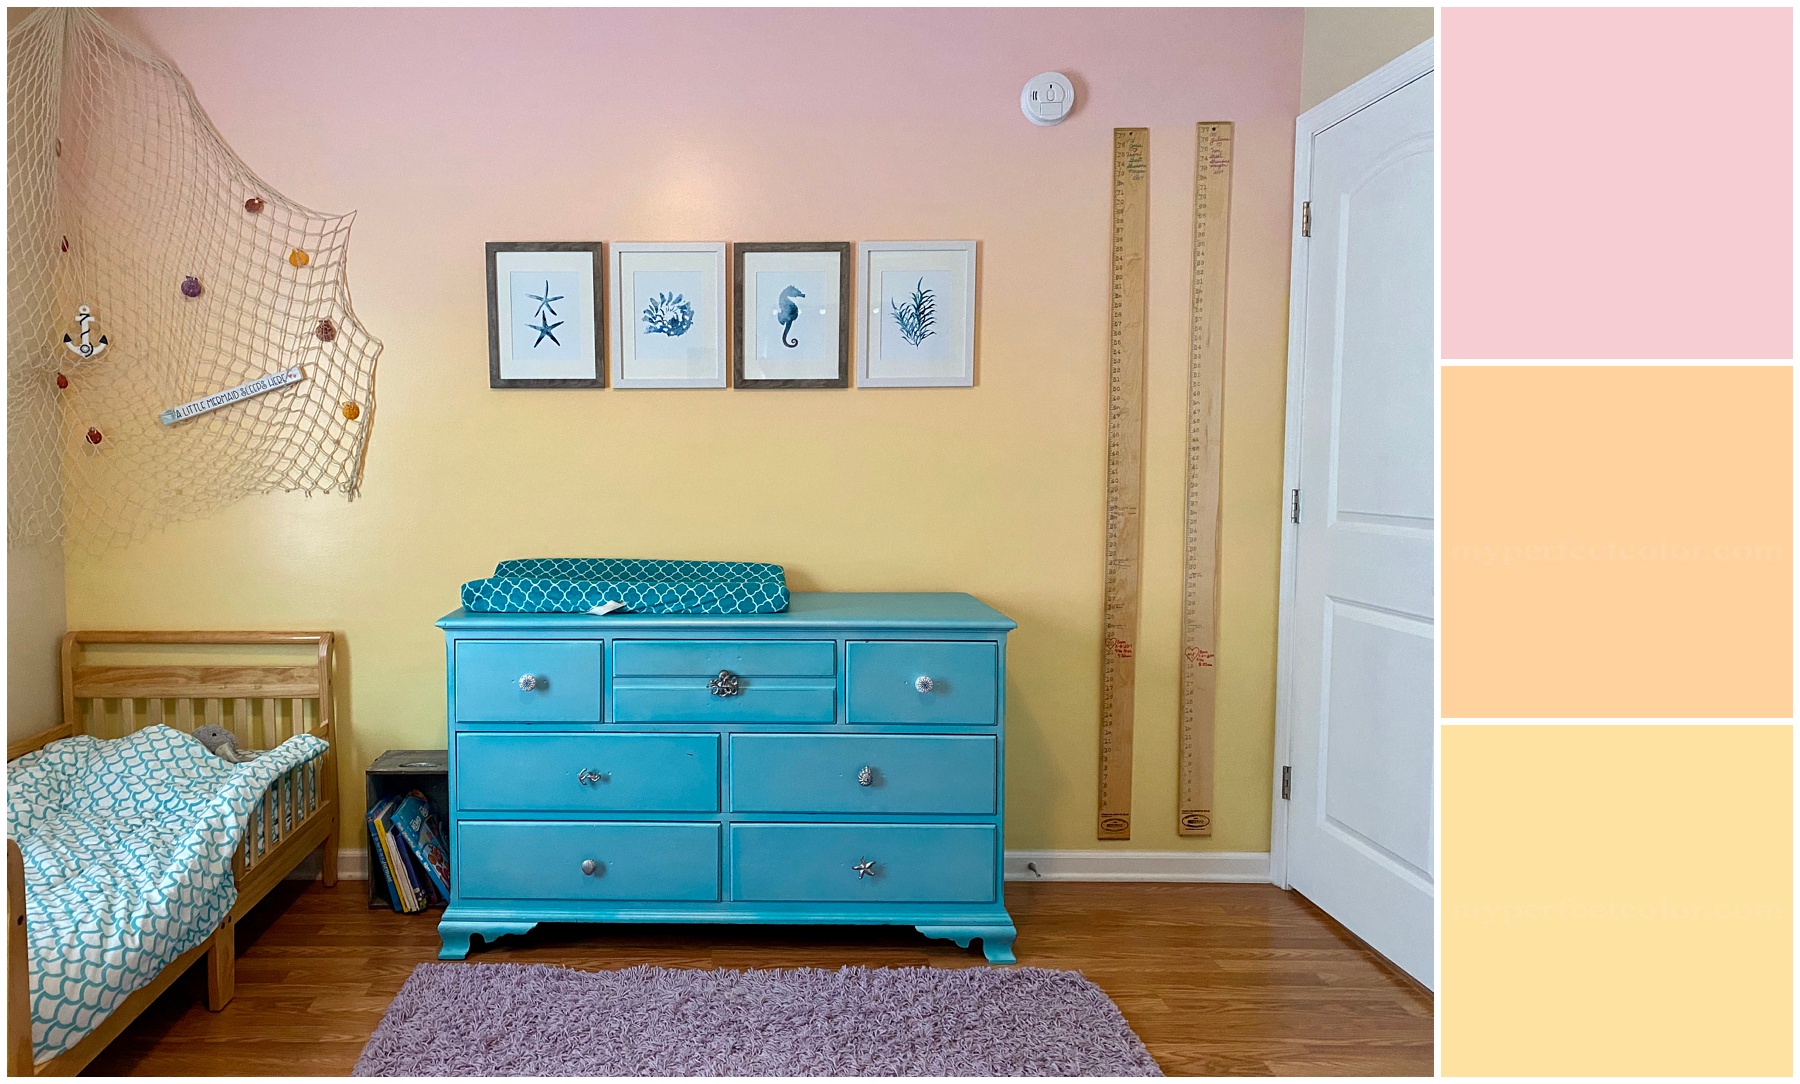
Paint Colors: Glidden Pleasing Pink, Behr Mango Nectar, Behr Polka Dot Skirt
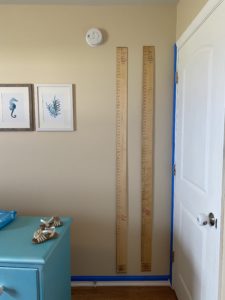 After taping the wall on all four sides I started with the lightest color which happened to be the yellow at the bottom. I eyeballed what I thought to be the lower third of the wall and painted horizontally instead of the usual vertical strokes up to that invisible line. I started the rolling process about half way in the area supposed to be yellow so that I didn’t have too much paint towards the trim that I couldn’t spread around and thus causing annoying drips from excess paint. Then I made sure to have an almost empty roller when I reached the top portion of the area to be painted so the paint blending wouldn’t be a drastic line.
Once the yellow was up, I added extra coverage in any areas needing it (because remember, I am using one roller so I can’t go back in the end if an area was too thin with paint and touch up). I then took the paint tray and poured back most of the yellow paint into the can but I left a little behind to mix with the 2nd color, orange. I poured the orange onto the yellow in the tray but didn’t mix the colors before loading the roller brush. I just rolled the two colors as they naturally attached to the roller, which resulted in a pattern of yellow, orange, yellow orange on the wall as I rolled. 🙄
I realize this could cause a bit of panic with some beginner painters because once a pattern starts it’s difficult to fill in or blend because the roller pattern will stay the same if you don’t let the roller change positions. It’s an easy fix though, just pick up the roller from the wall, let it spin a 1/4 turn or more and continue on. The new roller position will start filling in the pattern that formed and the paint will start blending.
Keep in mind, as annoying or scary that roller pattern can look, it will come in handy when blending later!
I moved the yellow/orange mixed paint horizontally from the left to the right but instead of trying to keep a straight line, I allowed the roller to slide higher and lower than it “should have” to blend better. I didn’t want the color changes to be obvious with unnatural straight lines on the wall.
Once I felt the yellow/orange area was a sufficient size I emptied the roller out on the wall as much as I could on the remaining part of the unpainted wall. Then I poured orange paint into the 2nd empty paint tray and loaded my roller again.
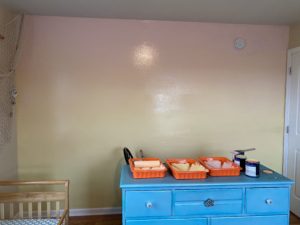
Once the pure orange paint was on the wall, I stood back to assess the blending of the colors. It’s best to work quickly so that the paint doesn’t dry too fast and you can go back to blend areas that need it with the roller or brush before moving on with the next paint.
I repeated the same process I used with the lower portion of the wall to complete the middle and upper section with the orange and pink paint.
 Here’s a photo of what the orange paint looked like when I added pink to it. See how the colors are still separate and unmixed?
Once I reached the top I realized my paint brush that I had been using to paint in the corners up the wall had too much paint in it already to give me a pure pink color at the top. Since I already had a 2nd brush in my supply kit I just grabbed it to paint the pure pink paint on the top of the wall trim area.
I was able to use the same roller until I reached the very top of the wall and noticed the pure pink color wasn’t staying on the roller as long as I wanted without the orange coming through. So I ended up painting the top portion with a brush and unmixed pink to get the look I wanted. This is where I could have opted to just use a new roller for the pink but I was determined to only use one for the whole project so the brush worked fine.
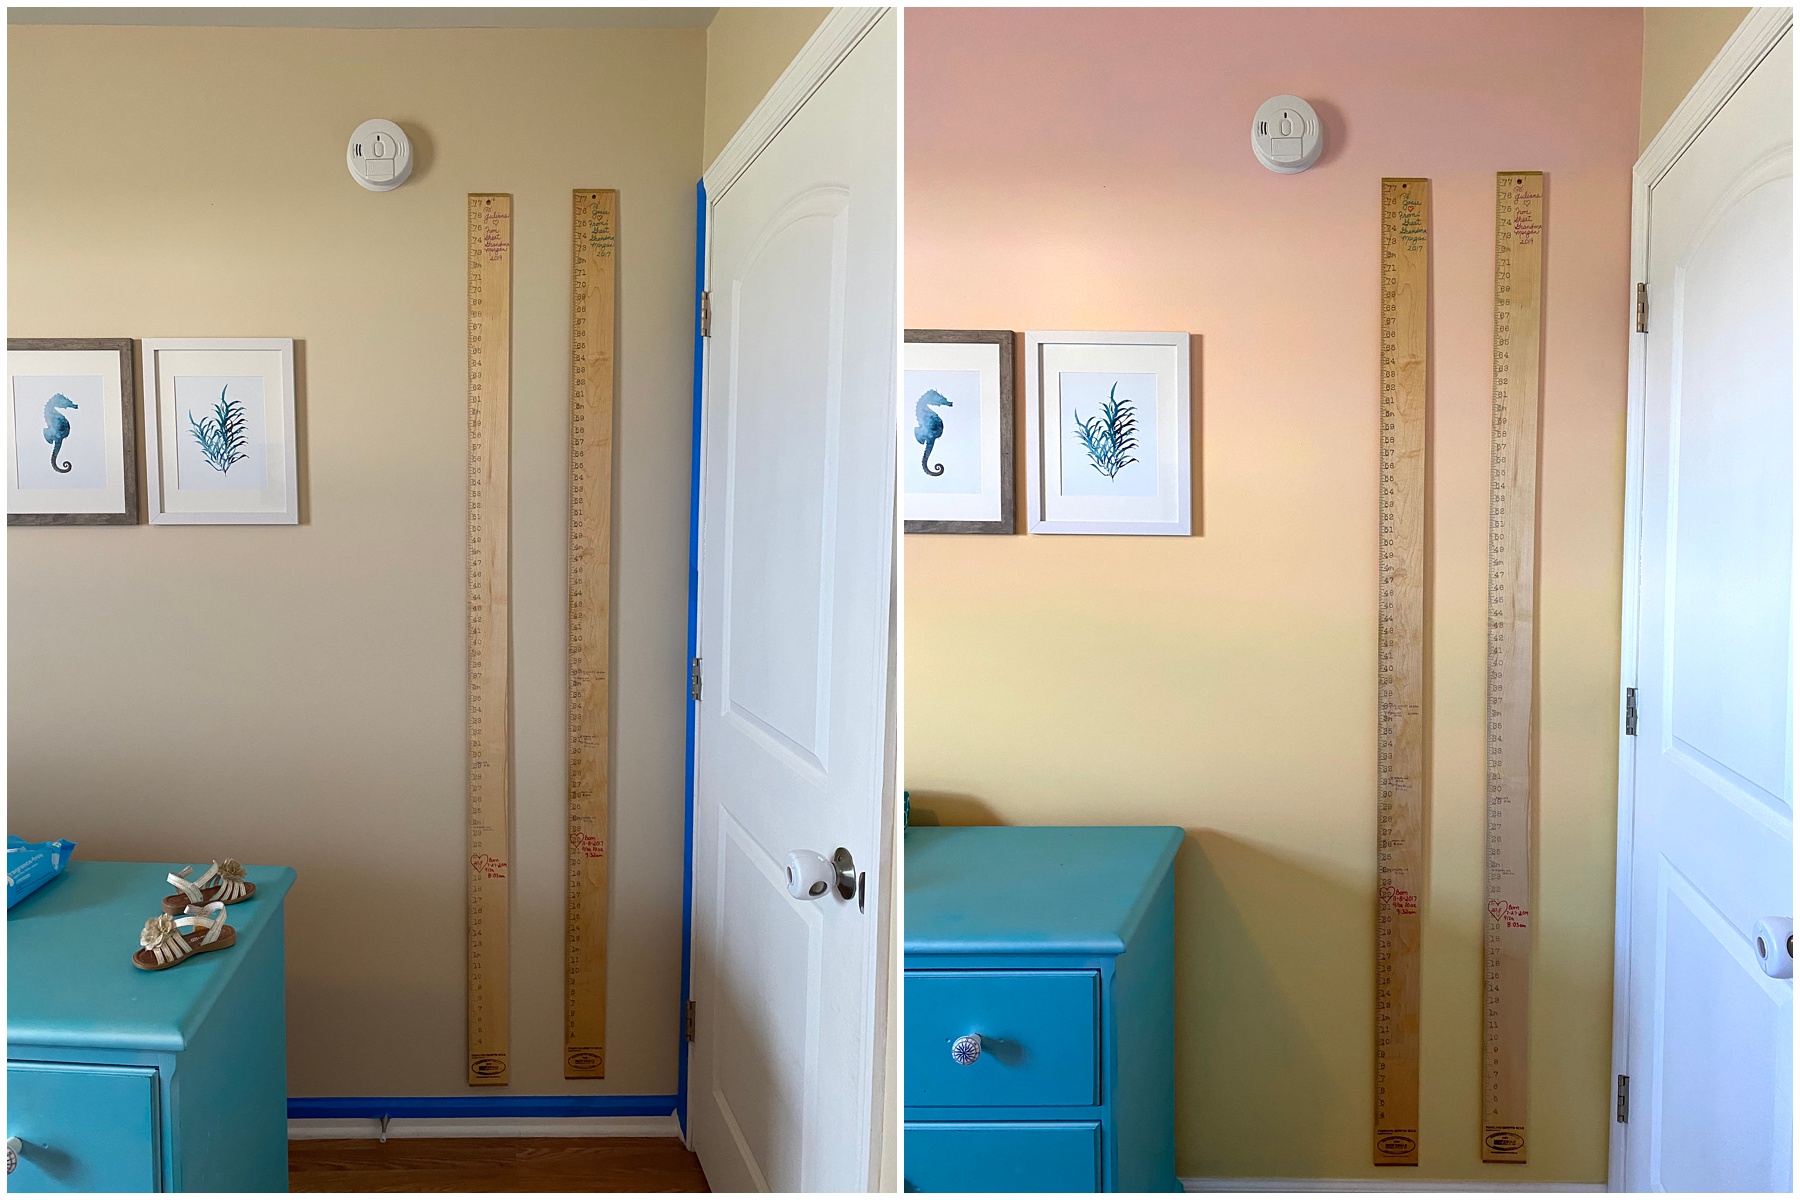
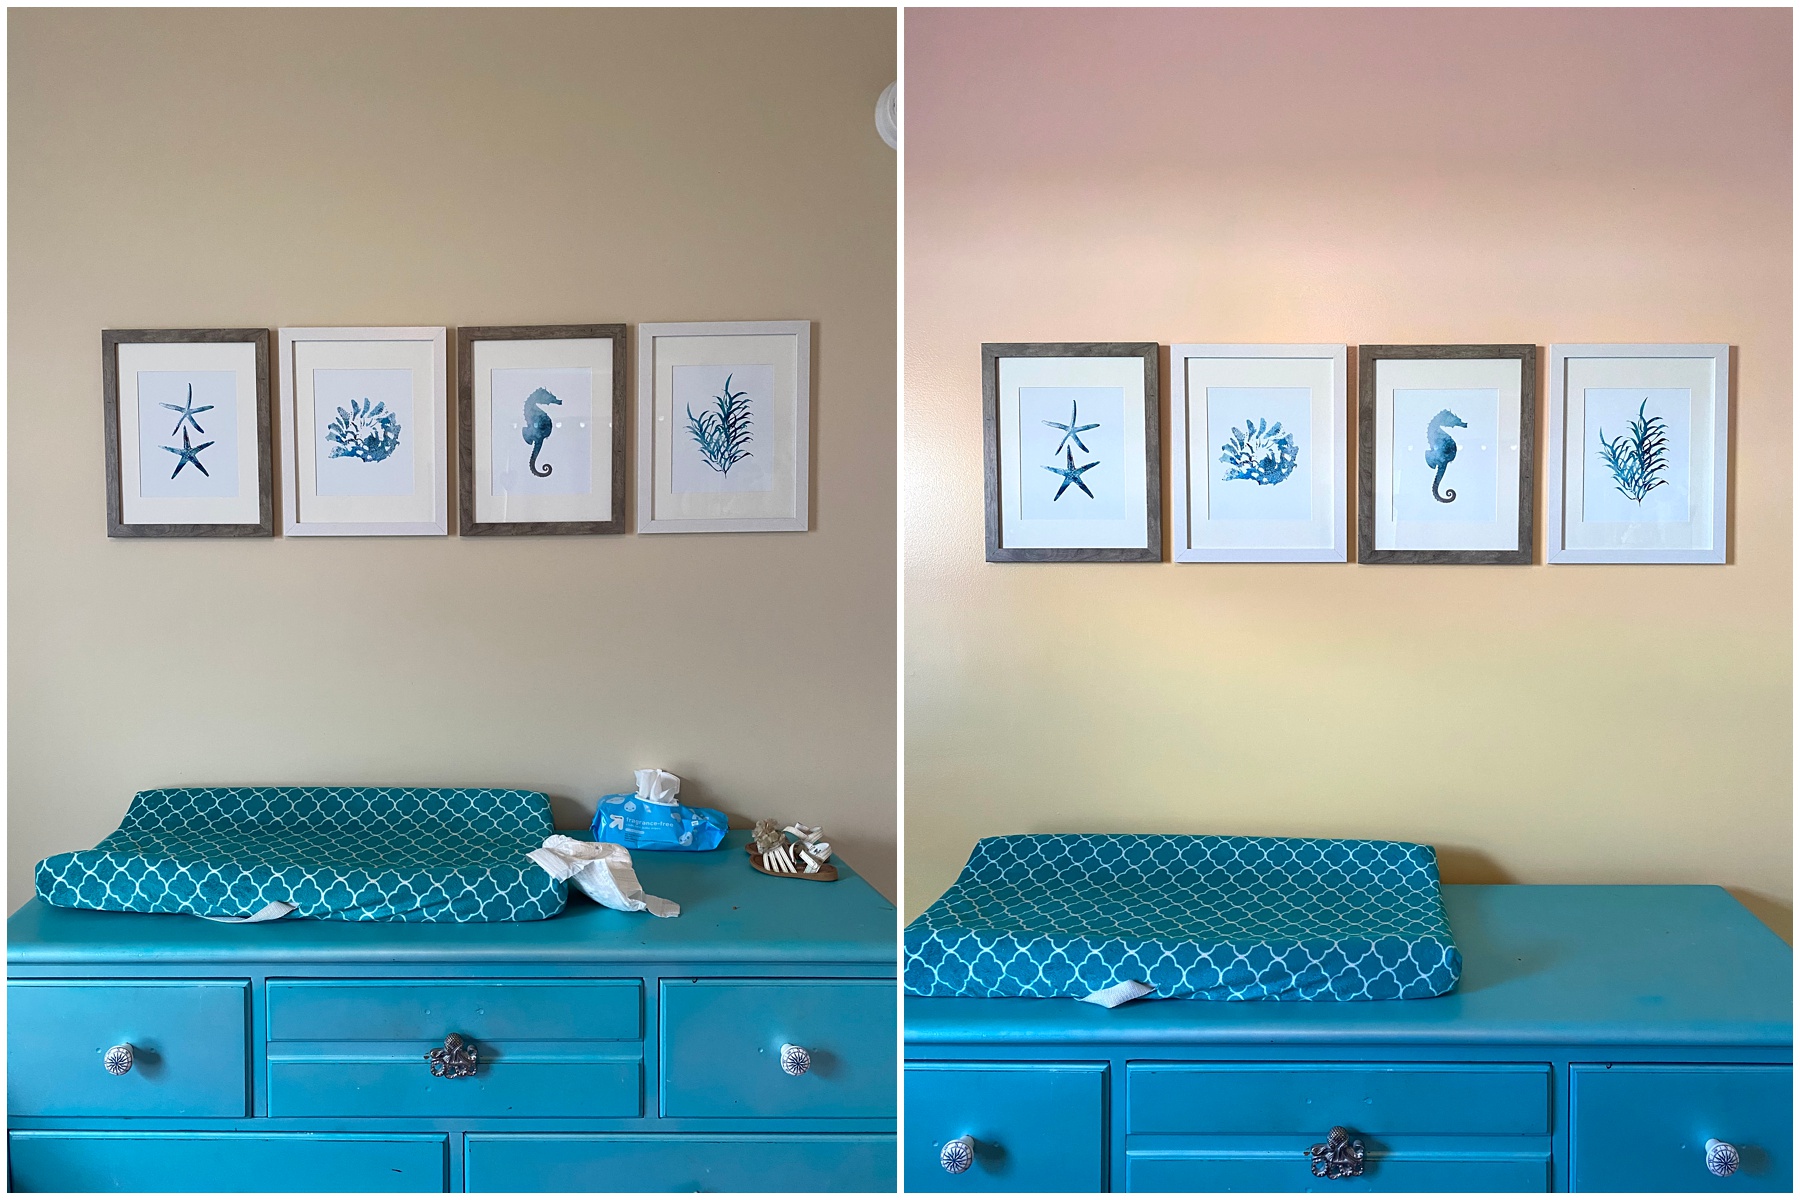
Remember when I said the accidental roller pattern would come in handy later? Well if an area needs better blending into the next color, a great way to achieve that is with the roller pattern that naturally happens when a roller is almost empty of paint. It gives incomplete coverage so the color on the roller will partially cover the color on the wall and give it a wispy look.
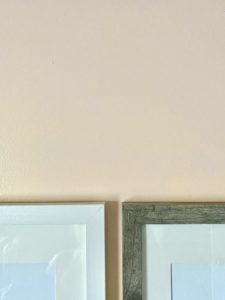
It’s a little difficult to see in the image to the left but it gives a better idea what wispy look I’m referring to.
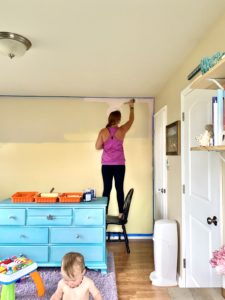
Another important thing to remember is that paint doesn’t dry at the same time so parts will look darker/lighter, blotchy, etc and you may think a few times, “what did I do??” Which is exactly what I was thinking when I took the image to the right when the wall is still shiny and wet. Then I remembered most walls look like a hot mess when wet/drying so I took a breath and left the room to return later! Just do the best you can and once the wall dries completely you’ll be pleasantly surprised by your masterpiece!

August 28, 2020
Easily Paint An Ombré Wall
I adore creating images that are BRIGHT, COLORFUL, JOYFUL, & TIMELESS!
Images that make you feel... because I don't just document your life event,
I capture the and emotion...
With each session you will receive a curated gallery of beautiful portraits you will cherish,
along with candid images that bring a smile to your lips and,
of course, small sweet moments that make your heart happy.
I will guide you every step of the way with gentle prompts to evoke natural embraces,
laughter, and genuine emotion true to your personality.
VIRGINIA WEDDING & PORTRAIT PHOTOGRAPHER
Portrait info
wedding info


